If you’re considering solar panels for your home, you may be wondering how they will be fitted to your roof and what the installation process will involve. Understanding each stage can help you prepare for the work and feel confident about choosing the right solar panel installation team.
So how are solar panels installed on a roof?
Solar panels are typically secured to a mounting system that is attached to your roof structure, then connected to an inverter that converts the electricity they generate into power you can use in your home. The exact method depends on your roof type, the layout of your property and the solar panel options you choose.
A roof assessment is essential
Before installing solar panels, a professional installer will need to assess whether your roof is suitable. This involves checking its condition, available space, angle, direction and any potential shading from nearby trees or buildings.
Your roof must also be capable of supporting the additional weight of the panels and their mounting equipment. If repairs are needed, it is usually sensible to address these before installation begins.
The assessment helps determine where the panels should be positioned to capture as much sunlight as possible and whether any additional work is required.
Designing Your Solar Panel System
Once your roof has been assessed, your installer will design a system suited to your property and electricity usage. This includes deciding how many panels you need, where they should be positioned and which mounting equipment is appropriate. The design will account for roof features such as chimneys, skylights and vents, as well as areas that may receive shade during the day.
Your installer will also consider the electrical equipment required, including the inverter and any battery storage you want to add.
Preparing the roof and installing mounting equipment
Installers generally begin by putting up scaffolding to provide safe access. They then fit suitable roof brackets or anchors, securing them to the roof structure in accordance with the mounting system’s requirements.
Rails are attached to these fixings to create a secure framework for the panels. The exact fixings depend on the roof material, which may include concrete tiles, slate or metal roofing. It is essential that the fixings must be suitable for the roof, and any areas where the roof covering is penetrated must be detailed correctly to protect against water ingress.
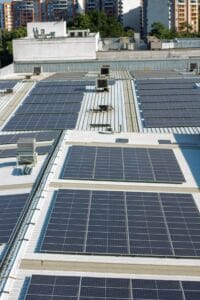
For flat roofs, installers usually use a purpose-designed frame to position the panels at a suitable angle. Depending on the roof structure and system design, the frame may be secured mechanically or held in place using ballast.
Attaching the solar panels
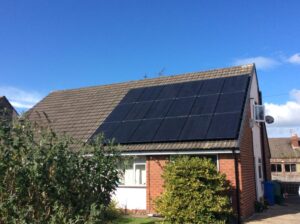
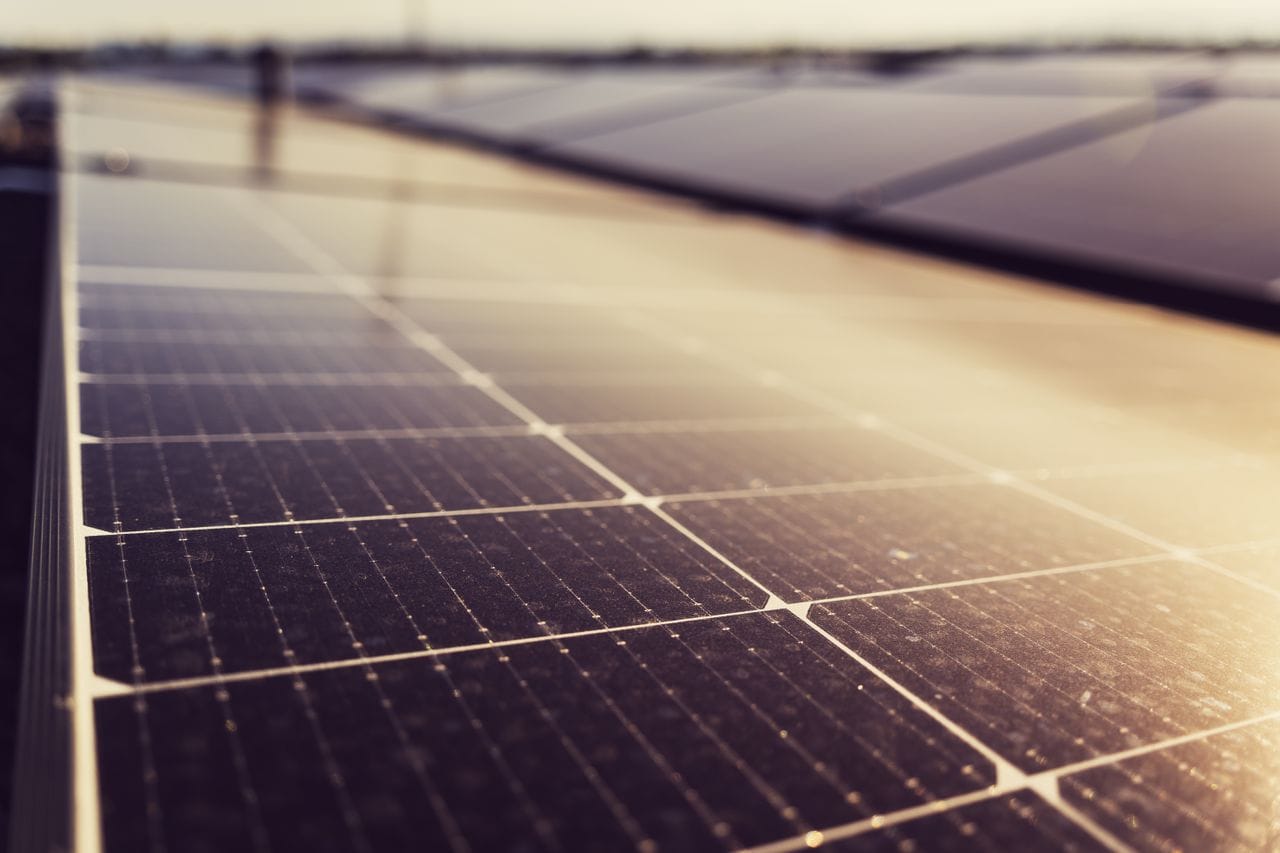
Once the mounting framework is ready, the solar panels are lifted into position and secured to the rails or supporting frame using the appropriate clamps and fixings. The installer will arrange the panels according to the agreed design, ensuring that they are properly aligned and securely attached.
For some properties, an alternative approach is an integrated solar installation. In this arrangement, the panels or their mounting system replace part of the roof covering rather than sitting above it. This can create a more streamlined appearance, although it requires a suitable system and careful weatherproofing.
Whichever method is used, the installation must account for wind exposure, roof construction and the manufacturer’s fitting requirements.
Connecting the panels to your home
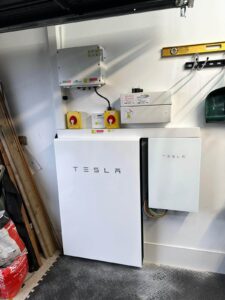
With the panels fitted, the electrical components can be connected. Solar panels generate direct current (DC) electricity, which an inverter converts into alternating current (AC) electricity for use by your household appliances.
The system also requires appropriate electrical protection, cabling and isolation equipment. A qualified professional will carry out the electrical work and make sure the system is installed and tested correctly.
If you choose battery storage, the battery will also be connected to the system. It can store surplus solar electricity for use later, such as in the evening when your panels are no longer generating power.
Testing and completing the installation
Before the installation is complete, the installer will test the system to check that the panels, inverter and other equipment are operating correctly. You should receive information about how to monitor performance, along with relevant documentation covering the installation, equipment and warranties.
The installer should also explain any remaining administrative steps, including the applicable grid connection notification or registration requirements. If you want to receive payments for surplus electricity exported to the grid, you may also need to meet your chosen export tariff provider’s eligibility requirements.
Overall, a typical domestic solar panel installation can often be completed in one or two days, although more complex systems, additional electrical work or difficult roof access can extend the timeframe.